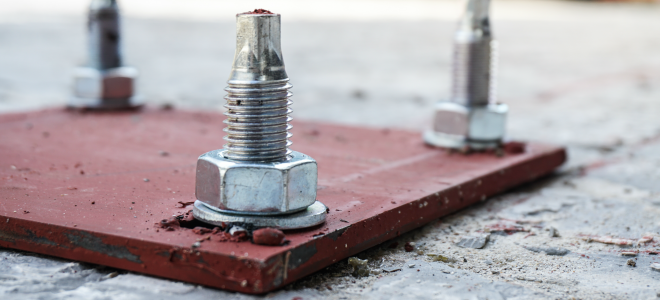
Step 2nd: Placing anchor bolts and base plates
Pre-engineered steel buildings, steel structure projects still use reinforced concrete foundation. The foundation is the structural base that stands on the ground and supports the rest of the building. The foundation design can depend on several factors: soil bearing capacity, soil type, groundwater table, minimum depth…
Before pouring concrete, a positioning system for accurately setting anchor bolts in concrete construction work will be installed. After that, the anchor bolts will be set accurately in the foundation steel system. This is an extremely important step with high technical and precision requirements to ensure the smooth installation of steel beams, columns and rafters.
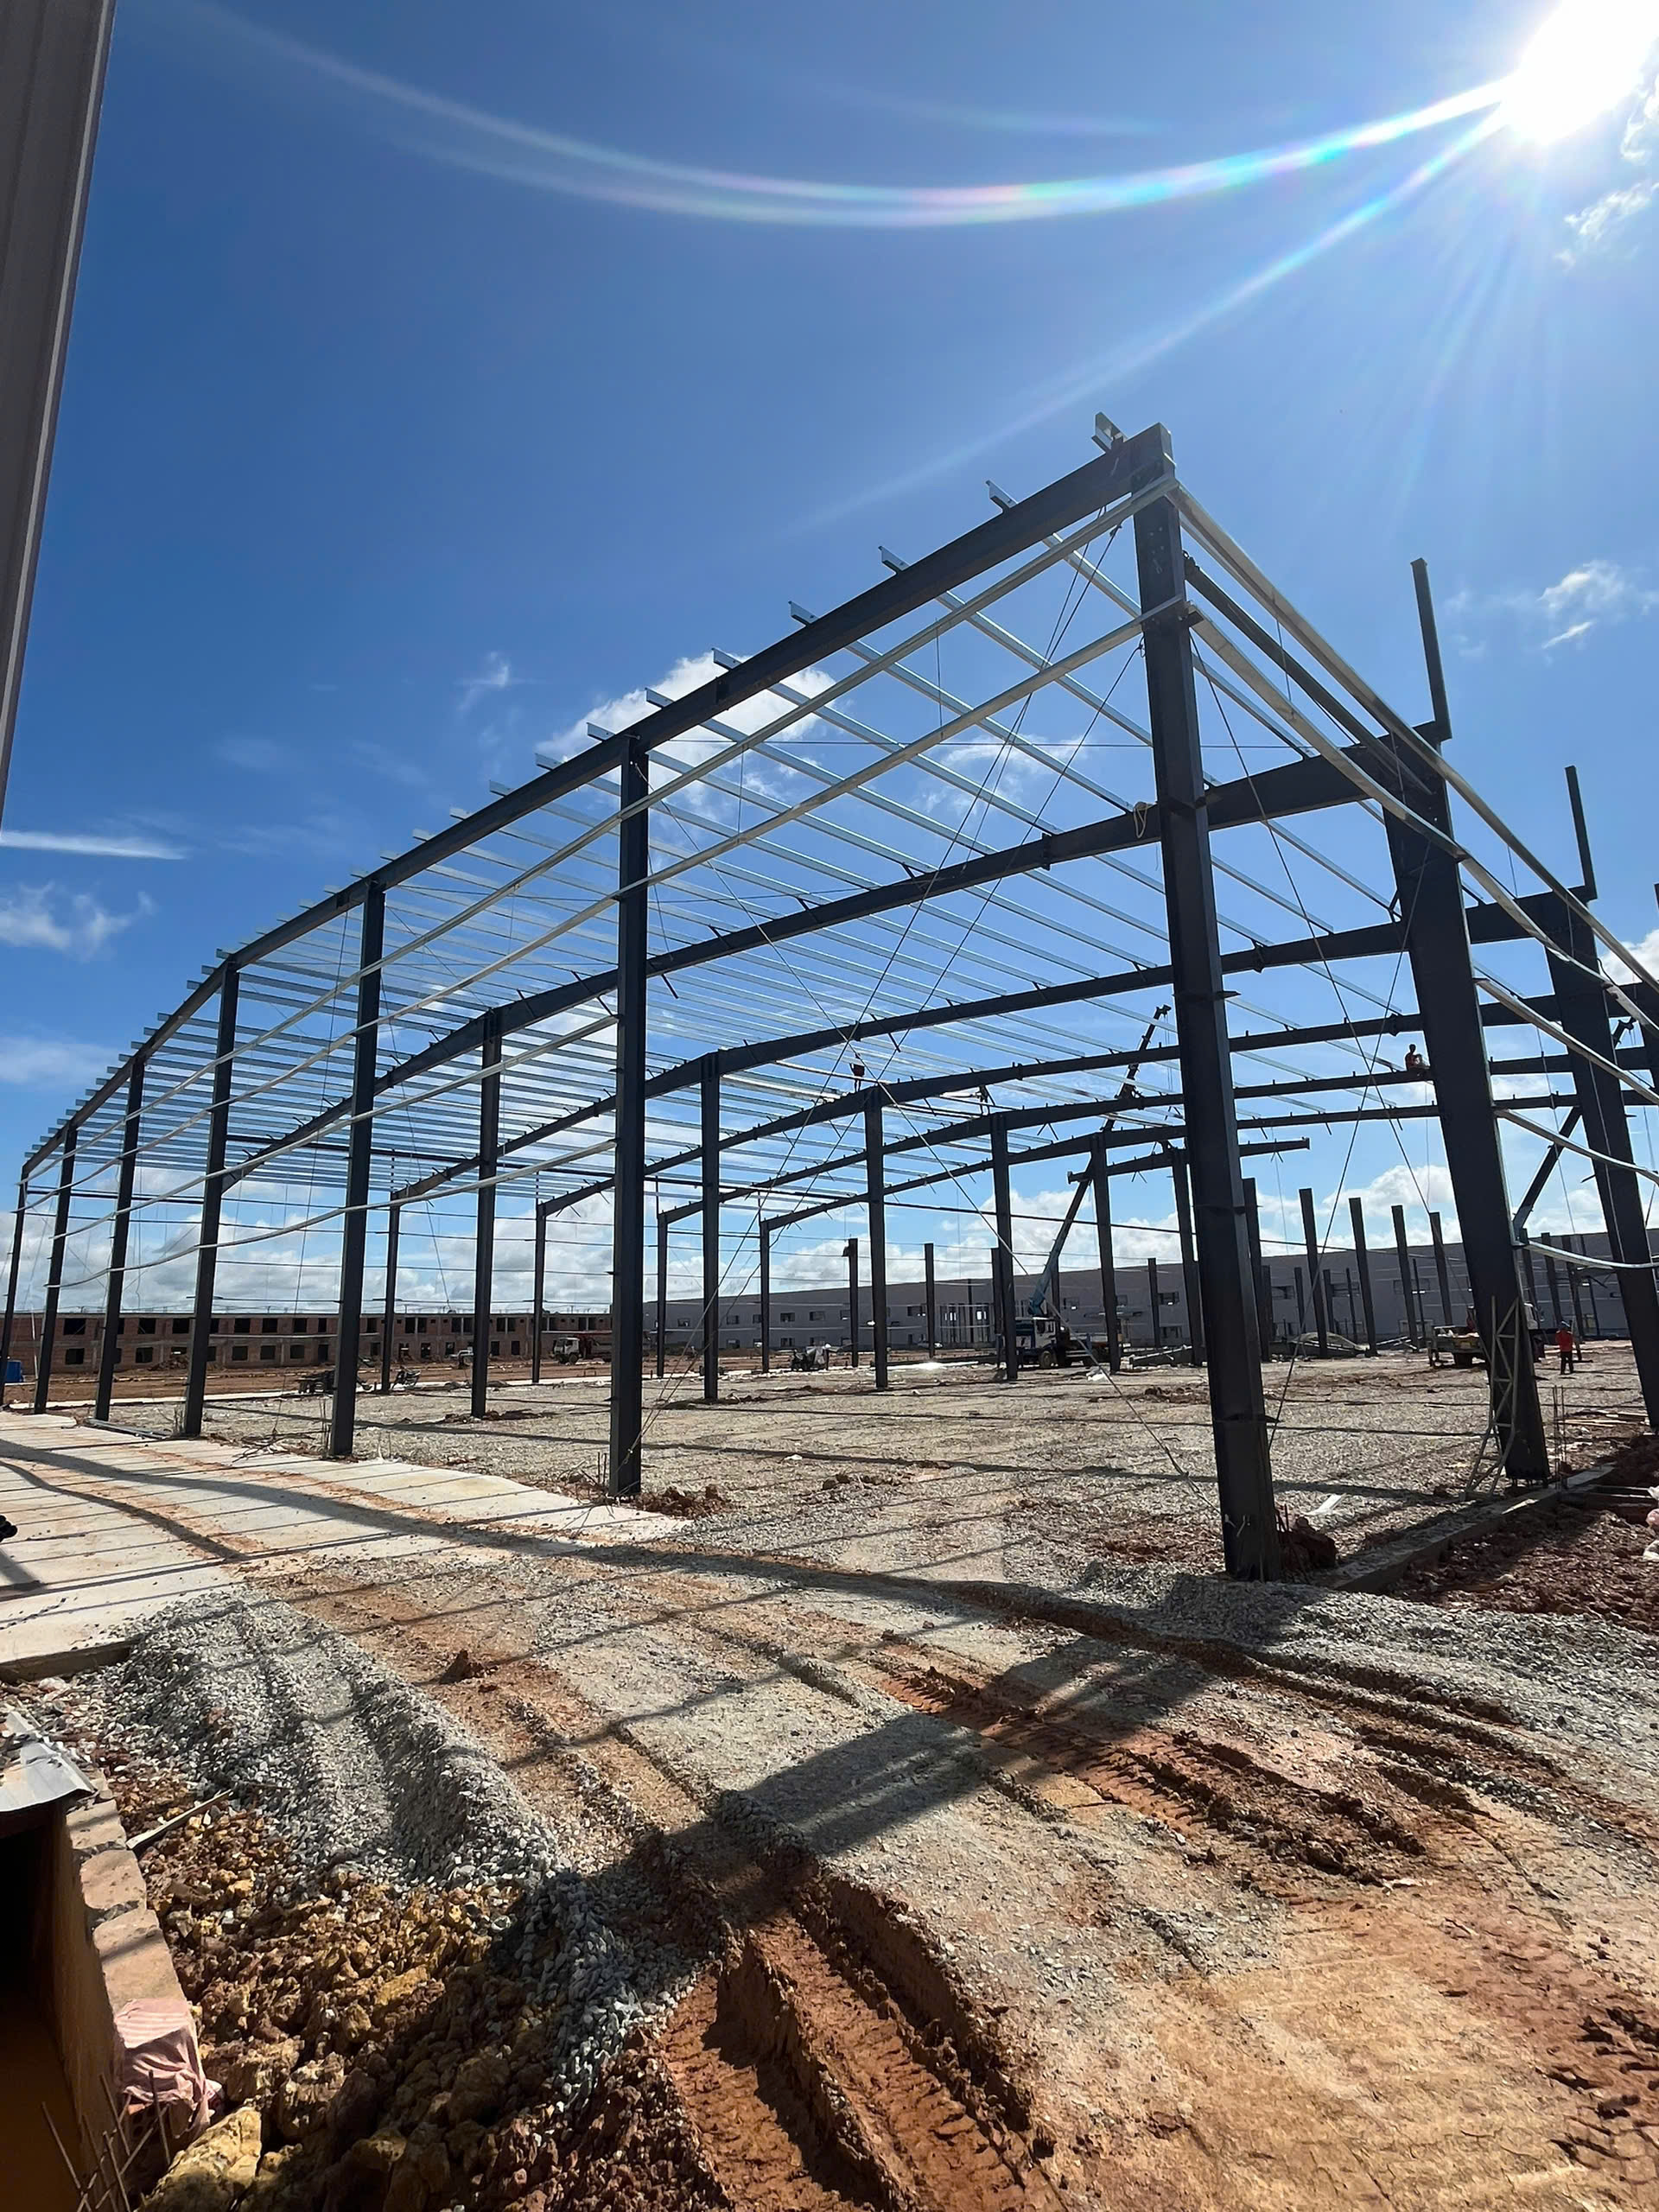
Step 3rd: Erect columns and bracings
The intermediate or interior frames nearest the bearing endwall are usually erected first. This bay usually contains the diagonal bracing. Erect the columns first, tie them together with the sidewall girts and tighten the anchor bolts. Tie all the temporary bracings before releasing the crane load.
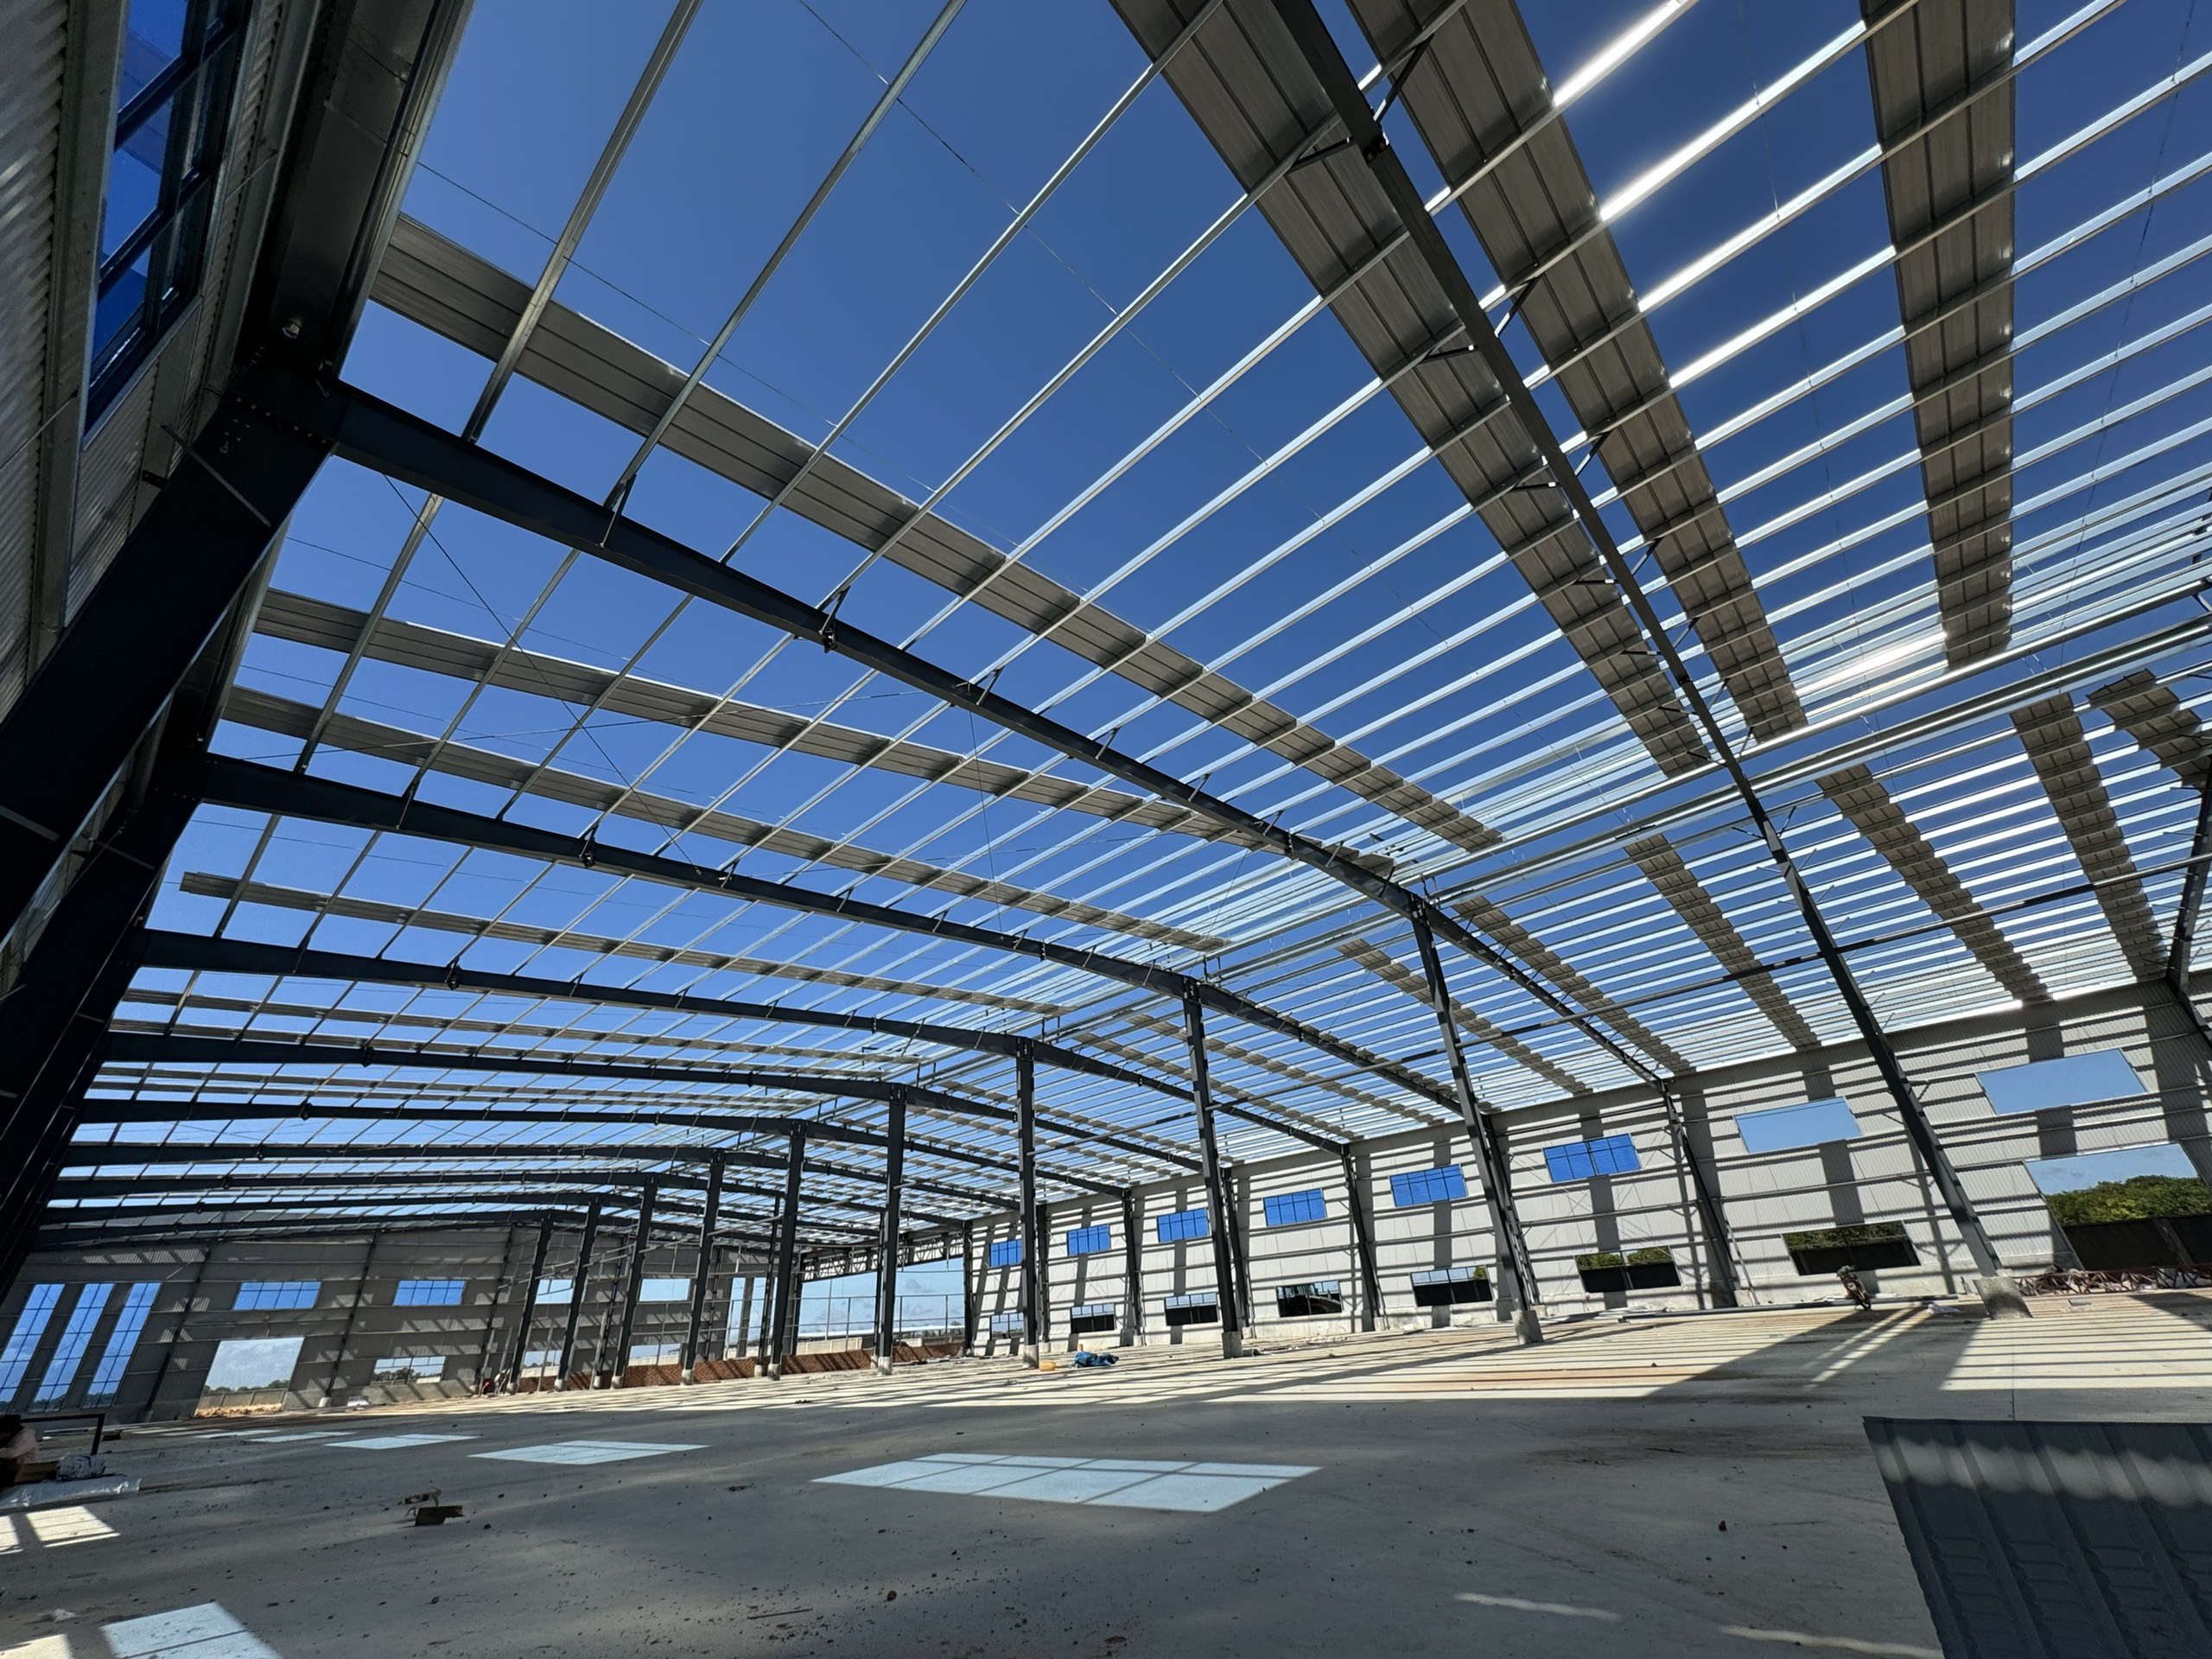
Step 4th: Erect rafters
After the columns have been erected, the ground-assembled rafter is hoisted into place and connected to the columns. The rafters are assembled on the ground that need to install the flange braces & tighten the splice joints. The flange brace should be bolted to the rafter prior to raising in order to save time.
Lift & erect the rafter assembly, ensure to tie enough guy wire ropes & tag lines
Step 5th: Install purlins and girts
Galvanized steel purlins are usually formed in shapes C, Z … with purlins distance from 1m – 1.5m. Purlins are linked to the main steel frame to support the roof system.
All purlins, girts, and eave struts are installed in the braced bay and the entire bay plumbed, aligned and braced before proceeding further. If the building is designed without cable bracing, the erector is responsible for providing temporary erection bracing.
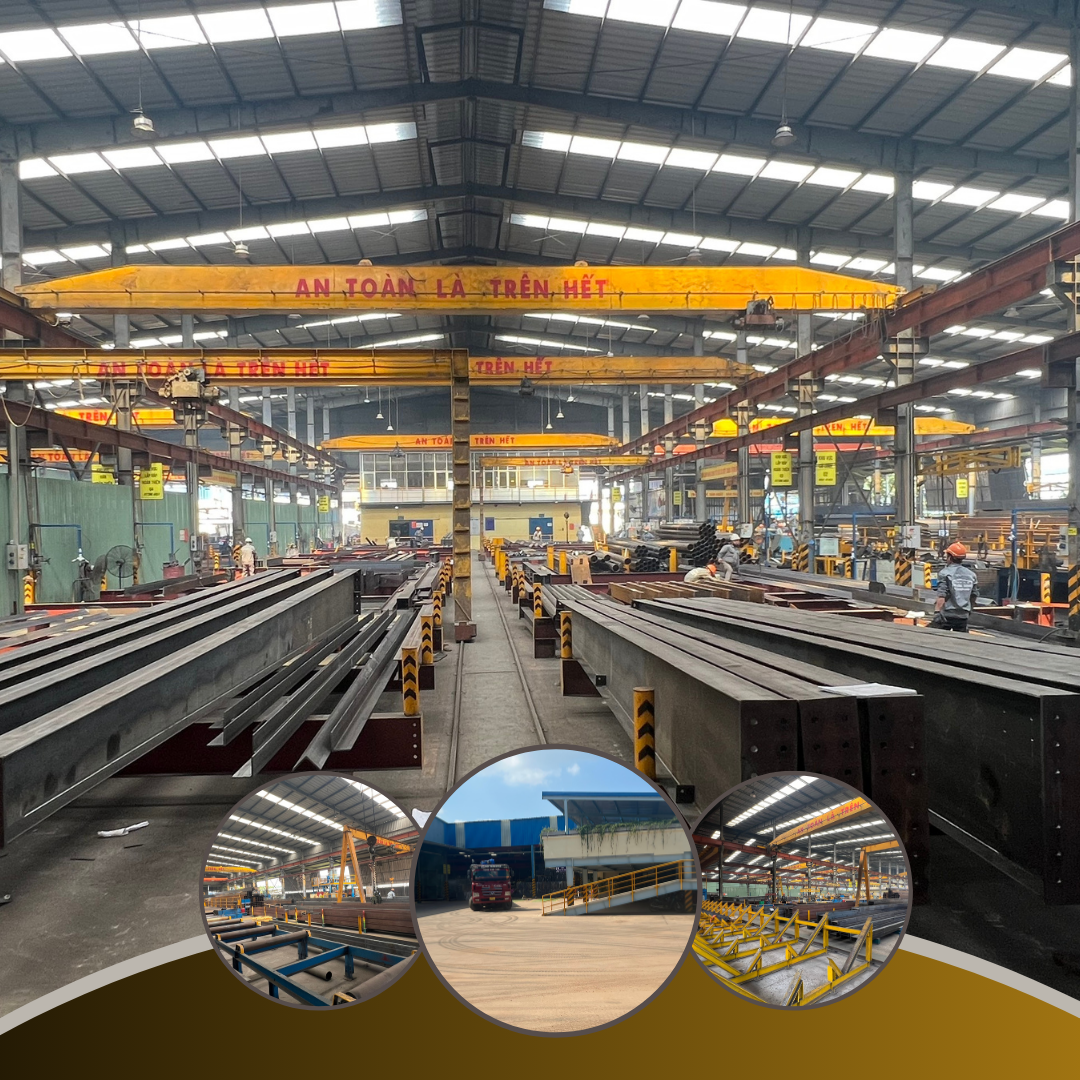
When this bay is properly and accurately plumbed and braced, the remaining members, to a large degree, will automatically plumb and align when installed. Only a final check of the building plumb remains, and few adjustments, if any, will be necessary
Step 6th: Sheeting and cladding
Installation of the building walls is generally done before the roof. Before starting the wall installation, check to be sure that the eave strut and girts are straight and plumb. Based on the building’s design and climate conditions, various types of roofing sheets such as 5 rib steel panel, SeamLok steel panel, KilpLok steel panel and skylights will be applied by Bao Dung. Normally, the roof system is installed with insulation made of glass wool, fiberglass or reflective foil to reduce heat flow and noise for buildings, factories. Use chalks or stretch attached wires to locate or mark axis positions in order to balance the steel panel when to complete the sheeting.
Note: Set foot on the female ribs when walking on the roof. Steel panels may be deformated if stepping on the male ribs. Never step on skylights.
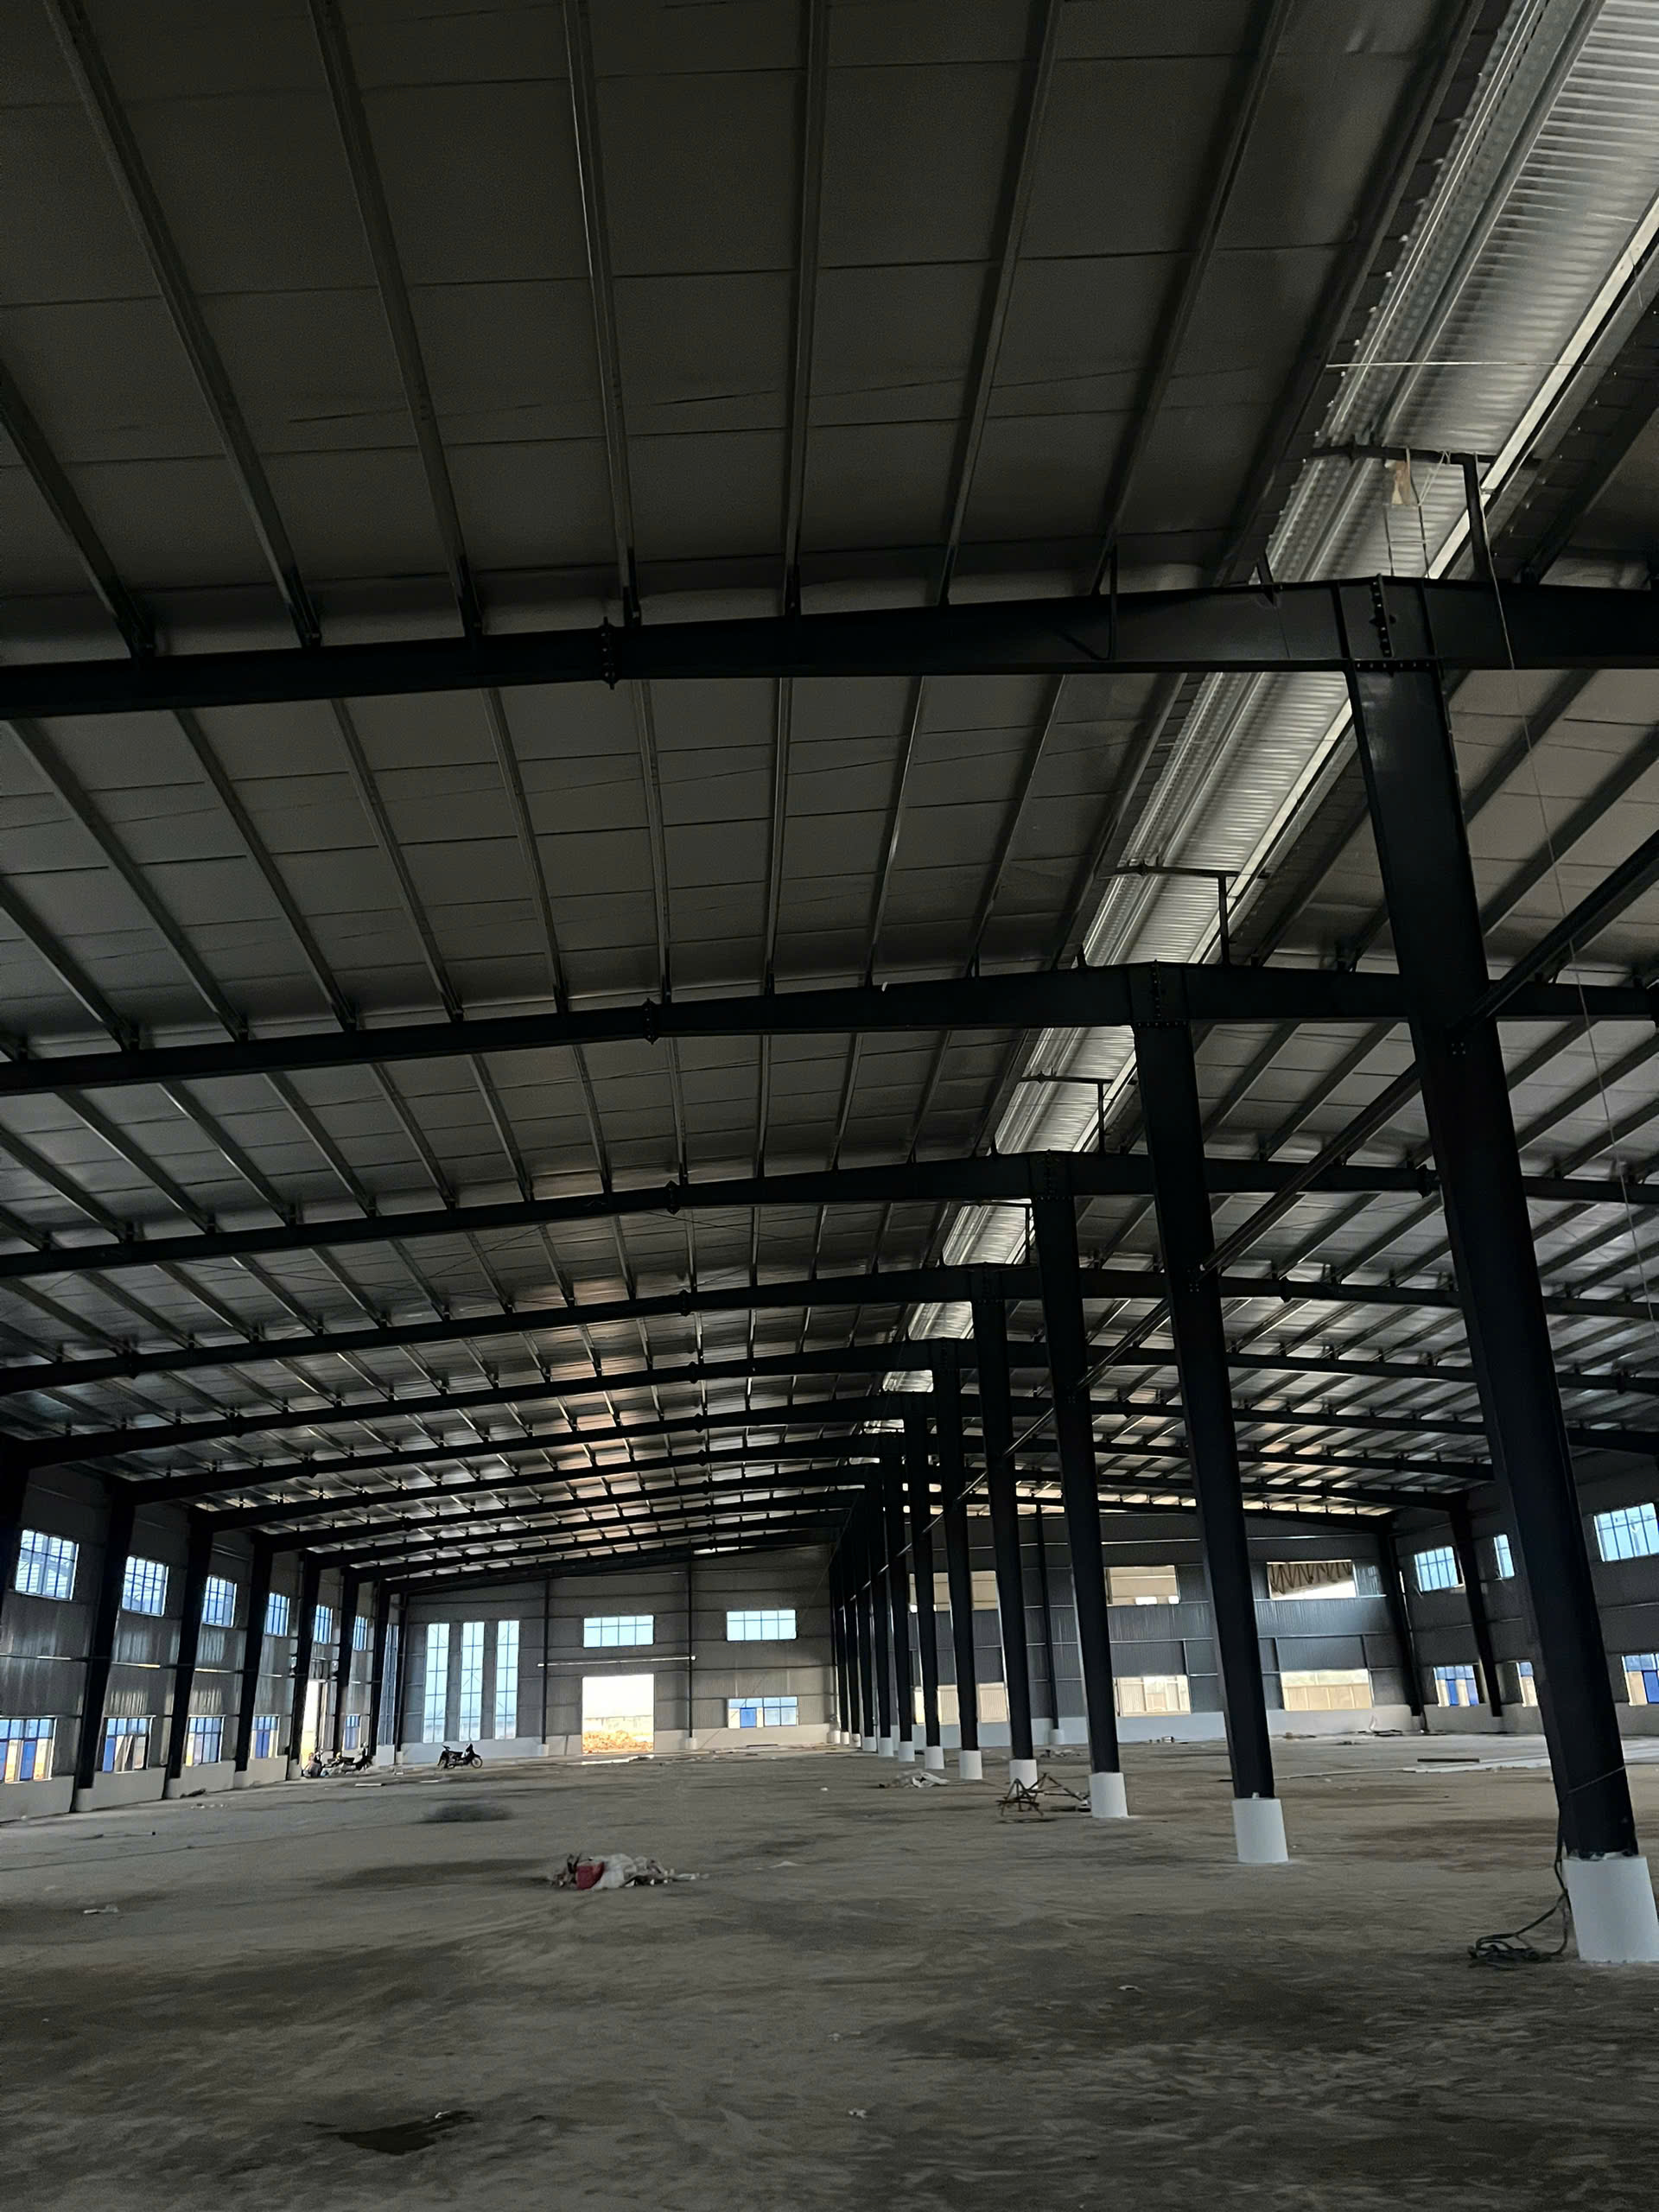
Step 7th: Finishing work
The overall appearance of the finished building depends primarily on the quality of the installation of the flashing, gutters and trim. Keep all gutter and flashing lines straight. Make all bends sharp and neat. Be sure edges are not jagged, dented, crimped, or serrated. End joints and laps must be closely controlled


